Appearance
开发规范
# 1. view 页面
在 @views 目录下,每个模块对应一个目录,它的所有功能的 .vue 都放在该目录里。 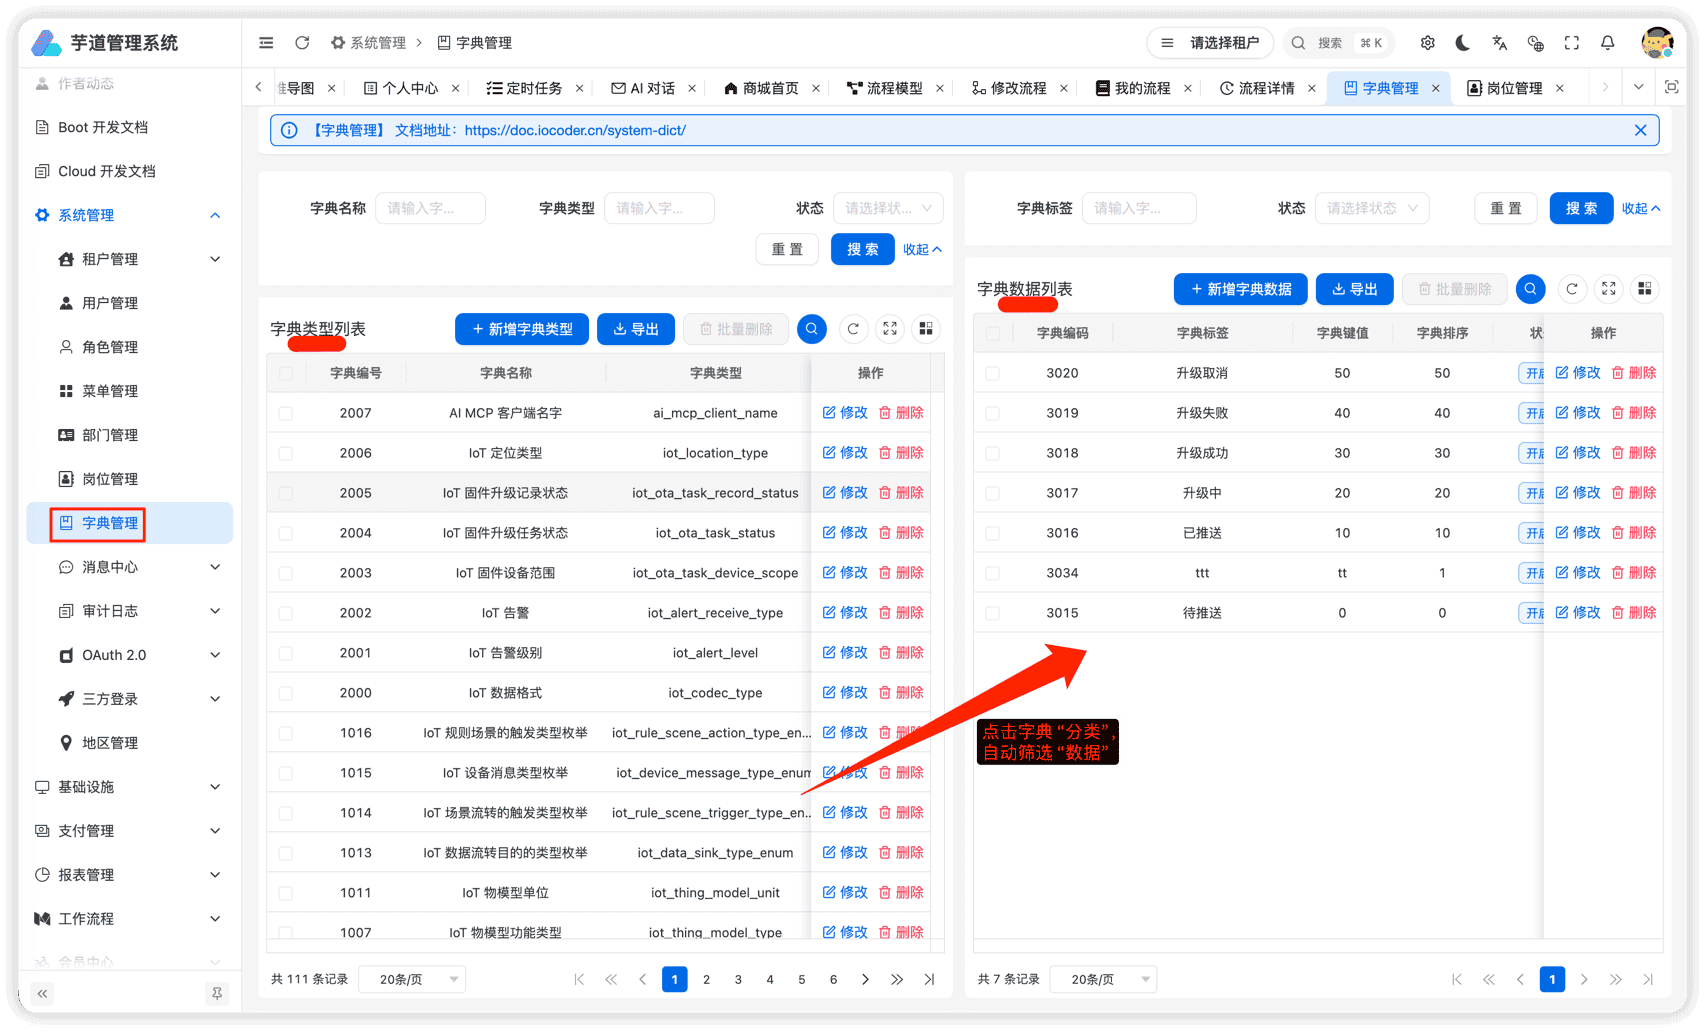 一般来说,一个路由对应一个
.vue 文件。
# 2. api 请求
在 @/api 目录下,每个模块对应一个 .api 文件。  每个 API 方法,会调用
request 方法,发起对后端 RESTful API 的调用。
# 2.1 请求封装
@/utils/request 基于 axios 封装,统一处理 GET、POST 方法的请求参数、请求头,以及错误提示信息等。
# 2.1.1 创建 axios 实例
baseURL基础路径timeout超时时间 实现代码 import axios from 'axios' // 创建 axios 实例 const service = axios.create({ // axios 中请求配置有 baseURL 选项,表示请求 URL 公共部分 baseURL: process.env.VUE_APP_BASE_API + '/admin-api/', // 此处的 /admin-api/ 地址,原因是后端的基础路径为 /admin-api/ // 超时 timeout: 10000 })
# 2.1.2 Request 拦截器
Authorization、tenant-id请求头- GET 请求参数的拼接 实现代码 import { getToken } from '@/utils/auth' import { getTenantEnable } from "@/utils/ruoyi"; import Cookies from "js-cookie"; service.interceptors.request.use(config => { // 是否需要设置 token const isToken = (config.headers || {}).isToken === false if (getToken() && !isToken) { config.headers['Authorization'] = 'Bearer ' + getToken() // 让每个请求携带自定义token 请根据实际情况自行修改 } // 设置租户 if (getTenantEnable()) { const tenantId = Cookies.get('tenantId'); if (tenantId) { config.headers['tenant-id'] = tenantId; } } // get 请求映射 params 参数 if (config.method === 'get' && config.params) { let url = config.url + '?'; for (const propName of Object.keys(config.params)) { const value = config.params[propName]; var part = encodeURIComponent(propName) + "="; if (value !== null && typeof(value) !== "undefined") { if (typeof value === 'object') { for (const key of Object.keys(value)) { let params = propName + '[' + key + ']'; var subPart = encodeURIComponent(params) + "="; url += subPart + encodeURIComponent(value[key]) + "&"; } } else { url += part + encodeURIComponent(value) + "&"; } } } url = url.slice(0, -1); config.params = {}; config.url = url; } return config }, error => { console.log(error) Promise.reject(error) })
# 2.1.3 Response 拦截器
- Token 失效、登录过期时,跳回首页
- 请求失败,Message 错误提示 实现代码 import { Notification, MessageBox, Message } from 'element-ui' import store from '@/store' import errorCode from '@/utils/errorCode' import Cookies from "js-cookie"; export let isRelogin = { show: false }; service.interceptors.response.use(res => { // 未设置状态码则默认成功状态 const code = res.data.code || 200; // 获取错误信息 const msg = errorCode[code] || res.data.msg || errorCode['default'] if (code === 401) { if (!isRelogin.show) { isRelogin.show = true; MessageBox.confirm('登录状态已过期,您可以继续留在该页面,或者重新登录', '系统提示', { confirmButtonText: '重新登录', cancelButtonText: '取消', type: 'warning' } ).then(() => { isRelogin.show = false; store.dispatch('LogOut').then(() => { location.href = '/index'; }) }).catch(() => { isRelogin.show = false; }); } return Promise.reject('无效的会话,或者会话已过期,请重新登录。') } else if (code === 500) { Message({ message: msg, type: 'error' }) return Promise.reject(new Error(msg)) } else if (code !== 200) { Notification.error({ title: msg }) return Promise.reject('error') } else { // 请求成功! return res.data } }, error => { console.log('err' + error) let { message } = error; if (message === "Network Error") { message = "后端接口连接异常"; } else if (message.includes("timeout")) { message = "系统接口请求超时"; } else if (message.includes("Request failed with status code")) { message = "系统接口" + message.substr(message.length - 3) + "异常"; } Message({ message: message, type: 'error', duration: 5 * 1000 }) return Promise.reject(error) } )
# 2.2 交互流程
一个完整的前端 UI 交互到服务端处理流程,如下图所示:  以 [系统管理 -> 用户管理] 菜单为例,查看它是如何读取用户列表的。代码如下: // ① api/system/user.js import request from '@/utils/request' // 查询用户列表 export function listUser(query) { return request({ url: '/system/user/page', method: 'get', params: query }) } // ② views/system/user/index.vue import { listUser } from "@/api/system/user"; export default { data() { userList: null, loading: true }, methods: { getList() { this.loading = true listUser().then(response => { this.userList = response.rows this.loading = false }) } } }
# 2.3 自定义 baseURL 基础路径
如果想要自定义的 baseURL 基础路径,可以通过 baseURL 进行直接覆盖。示例如下: export function listUser(query) { return request({ url: '/system/user/page', method: 'get', params: query, baseURL: 'https://www.iocoder.cn' // 自定义 }) }
# 3. component 组件
① 在 @/components 目录下,实现全局组件,被所有模块所公用。例如说,富文本编辑器、各种各搜索组件、封装的分页组件等等。  ② 每个模块的业务组件,可实现在
views 目录下,自己模块的目录的 components 目录下,避免单个 .vue 文件过大,降低维护成功。例如说,@/views/pay/app/components/xxx.vue。 
# 4. style 样式
① 在 @/styles 目录下,实现全局样式,被所有页面所公用。  ② 每个
.vue 页面,可在 `` 标签中添加样式,注意需要添加 scoped 表示只作用在当前页面里,避免造成全局的样式污染。  .pageB img{width:80px!important;} .wwads-horizontal .wwads-text, .wwads-content .wwads-text{line-height:1;} 代码格式化 菜单路由 ← 代码格式化 菜单路由→ Theme by Vdoing | Copyright © 2019-2026 芋道源码 | MIT License
- 跟随系统
- 浅色模式
- 深色模式
- 阅读模式 × .windowRB{ padding: 0;} .windowRB .wwads-img{margin-top: 10px;} .windowRB .wwads-content{margin: 0 10px 10px 10px;} .custom-html-window-rb .close-but{ display: none; }